User quotas
Since REANA 0.8.0, the cluster administrators have a possibility to set user quotas to limit the amount of disk space and CPU time available to execute workflows. This page explains how to inspect your limits and manage their use.
Check quota limits and usage
User quotas are optional features of REANA which may or may not be enabled in your cluster. You can check which resources are available in your cluster:
$ reana-client quota-show --resources
cpu
disk
You can check the limits imposed by the cluster administrator as follows:
$ reana-client quota-show --resource disk --report limit -h
500 GiB
$ reana-client quota-show --resource cpu --report limit -h
10000h
As you can see, this particular REANA example instance imposes a limit of 500 GiB on your disk usage, while the total runtime for all your workflows is limited to 10000 hours.
Note
It might also happen that no limits are enforced on a given resource.
In this case, reana-client will report No limit when showing the quota
limit.
You can also inspect your current usage of the resources as follows:
$ reana-client quota-show --resource disk -h
180 GiB out of 500 GiB used (36%)
$ reana-client quota-show --resource cpu -h
120h out of 10000h used (1%)
The usage of the resources is also displayed on the profile page of the web UI, which you can access by clicking on the person-shaped icon in the top-right corner of the web interface:
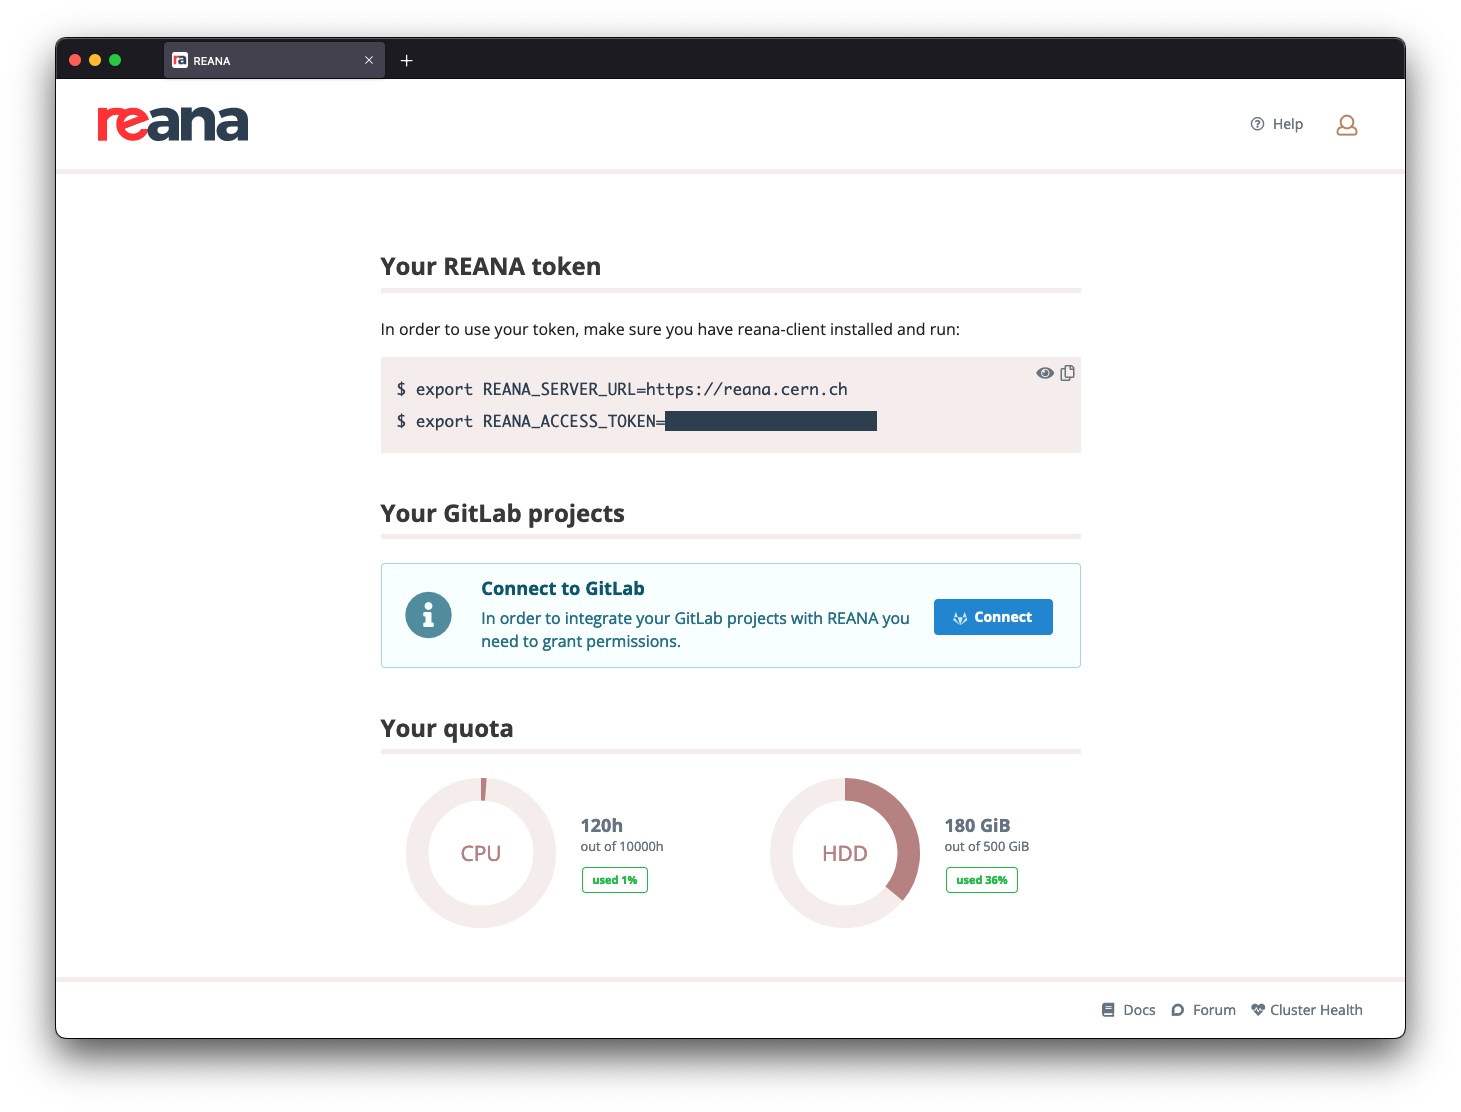
Note
If the "Your quota" section is not present on your profile page, it means that the cluster administrators did not enable the user quotas feature on this REANA instance.
What to do when quotas are exceeded
If you exceed your user quota of one of the resources, you will not be able to execute any new workflow until the resource usage will be back under the allowed limit. In particular, if you have exceeded your CPU quota, there is nothing you can do except asking the administrators of your REANA instance to increase your CPU quota limit. However, if you have consumed all the available disk space, you can download your data and either completely delete some past unnecessary workflows, or else remove the largest files, to get your disk space usage under quota limits.
Find workflows consuming the most disk space
Using the command line, you can make the reana-client list command also
include the disk usage numbers for each workflow run by means of the
--include-workspace-size option, and have the list sorted by the most
disk-space-consuming workflows first:
$ reana-client list --include-workspace-size --sort size
NAME                      RUN_NUMBER   CREATED               STARTED               ENDED                 STATUS     SIZE
reana-demo-root6-roofit   2            2022-05-30T12:50:46   2022-05-30T12:50:58   2022-05-30T12:51:13   finished   180224
reana-demo-helloworld     1            2022-05-30T11:59:48   2022-05-30T12:00:00   2022-05-30T12:00:15   finished   12288
reana-demo-root6-roofit   1            2022-05-30T11:59:58   2022-05-30T12:00:09   2022-05-30T12:01:13   deleted    0
Using the web interface, you can go to REANA's homepage and select the "Most disk quota used" option in the "Sort by" dropdown menu:
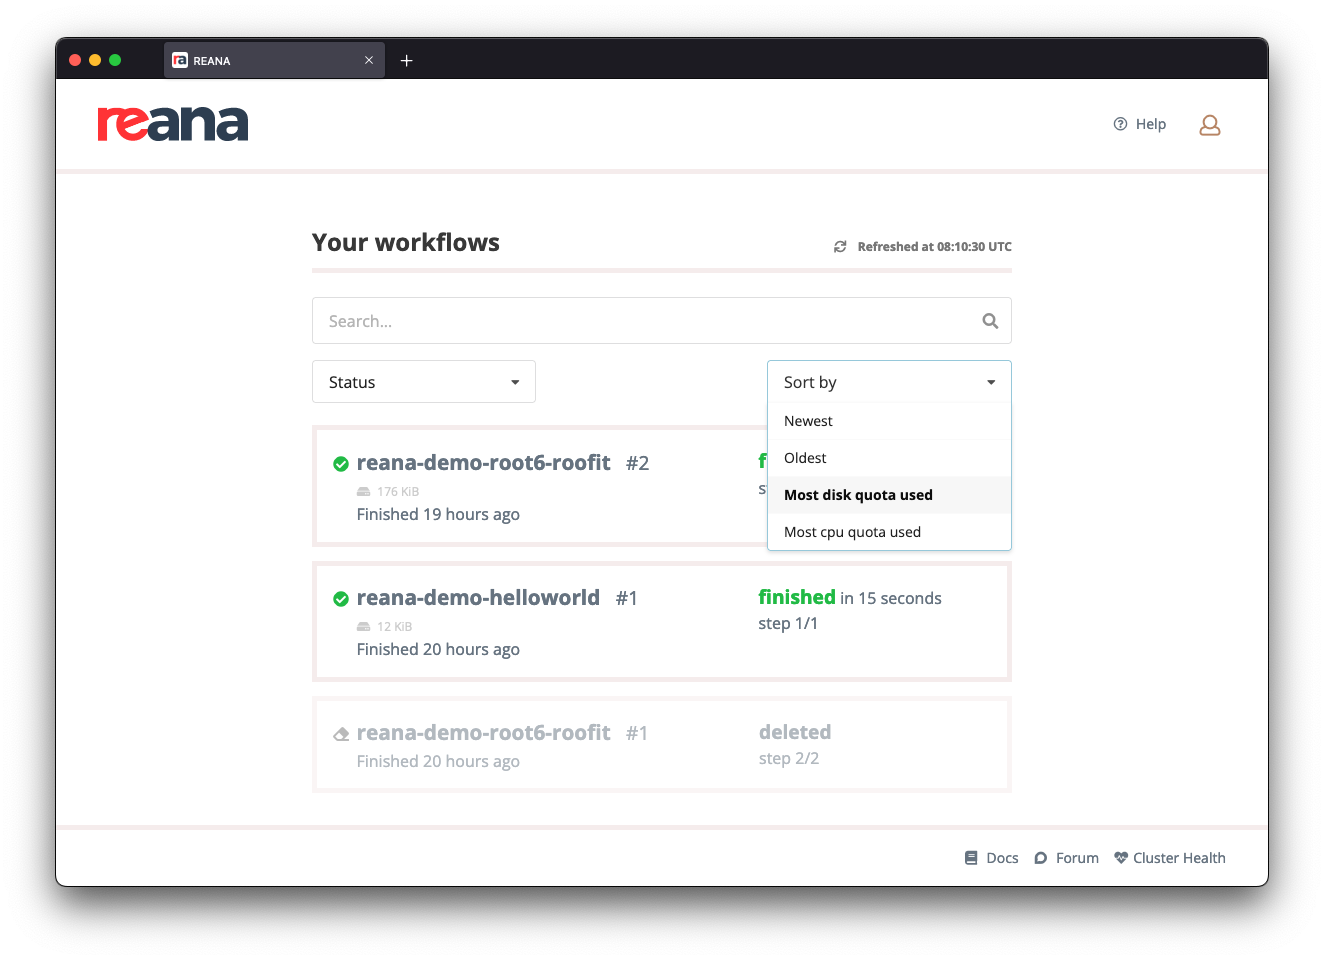
Workflows will then appear in decreasing order of disk usage: the heaviest workflows will be at the top of the list.
Delete workflows
If there are workflows that you do not need anymore, you can delete them to free up some disk space.
Using the command line, when deleting a workflow you can specify the
--include-workspace option to delete all the workflow's files:
$ reana-client delete -w reana-demo-root6-roofit.2 --include-workspace
==> SUCCESS: reana-demo-root6-roofit.2 has been deleted
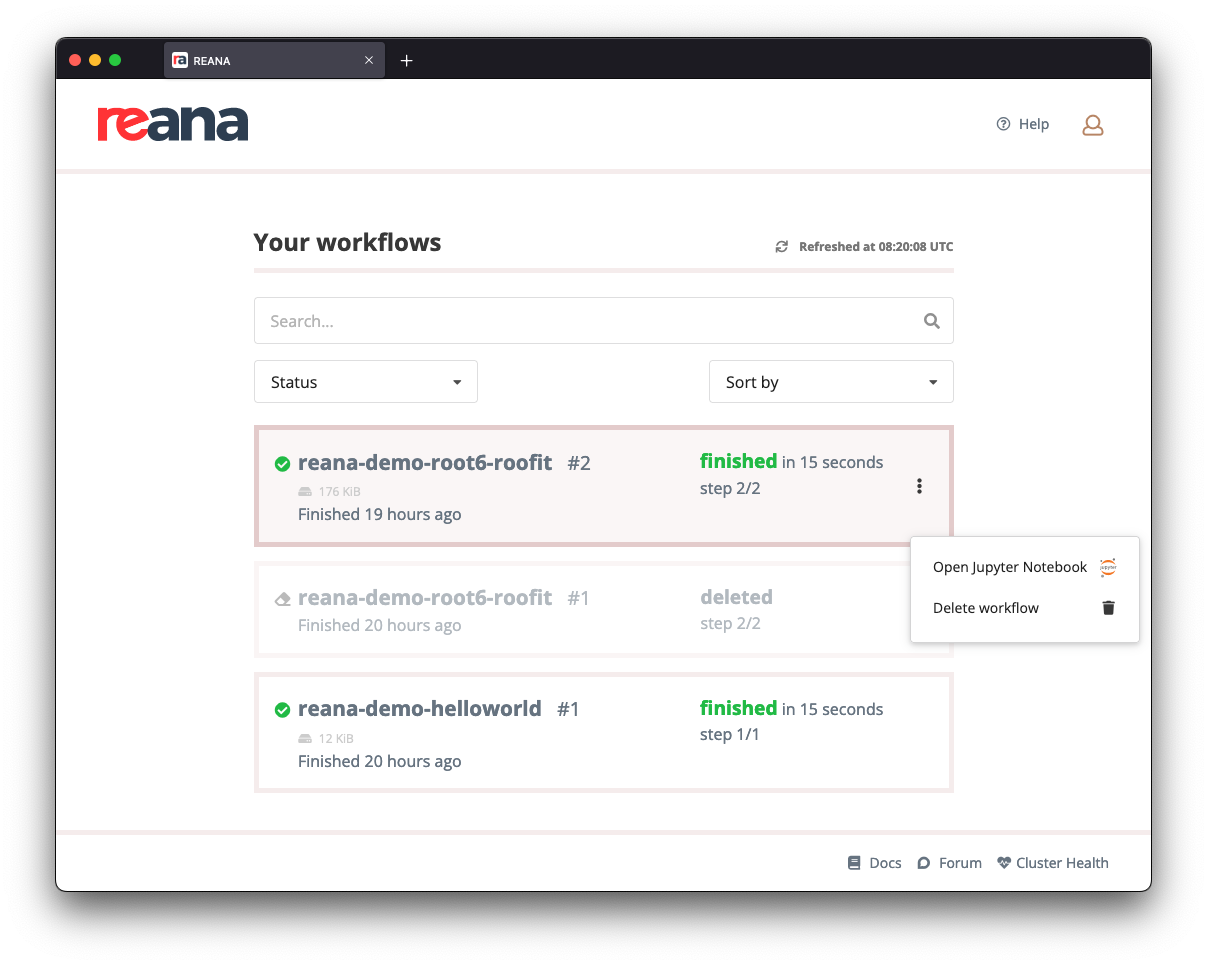
Using the web interface, find the workflow you want to delete, click on the three dots on the right to open the dropwdown menu, and select "Delete workflow":
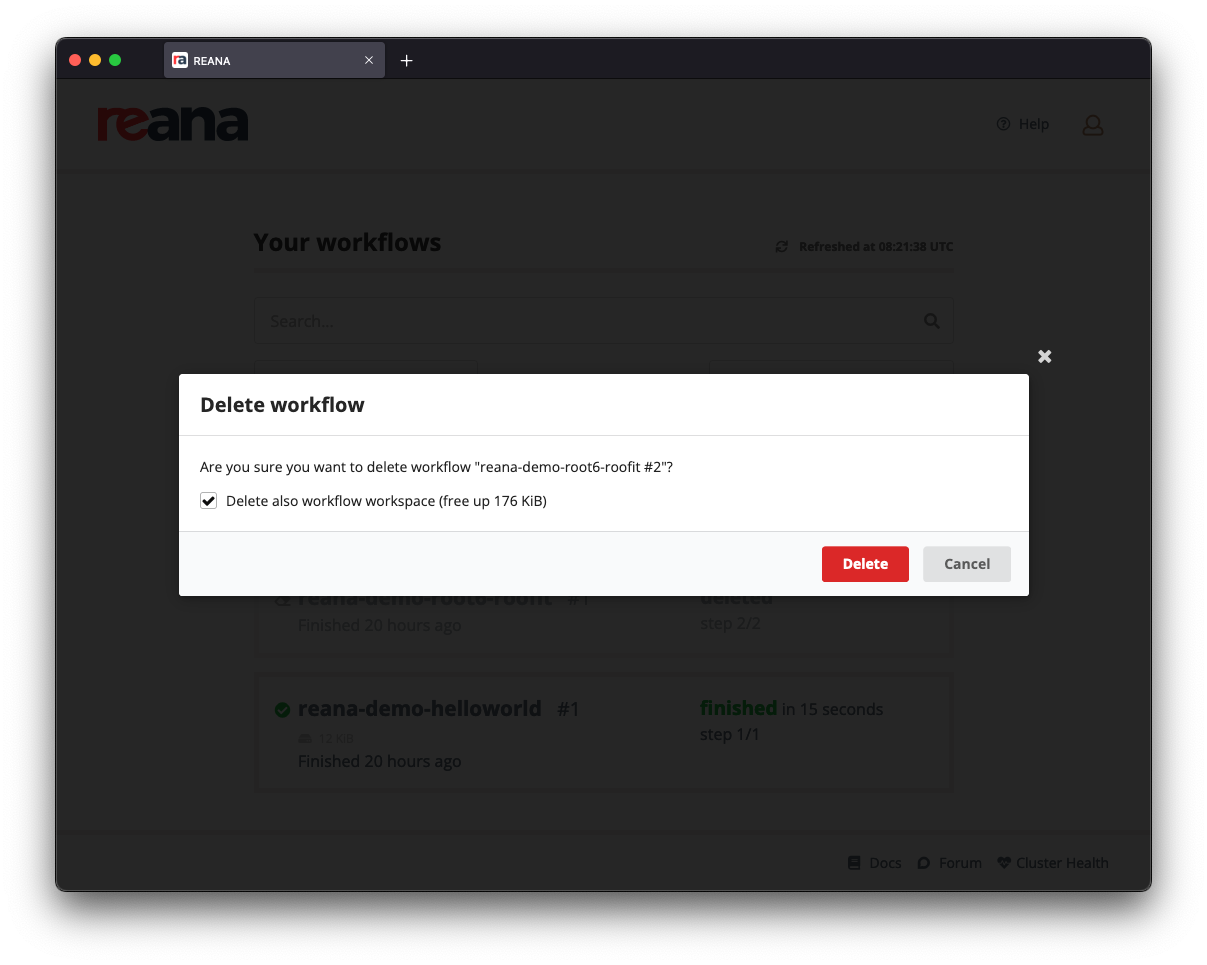
Make sure that "Delete also workflow workspace" is checked before confirming the deletion of the workflow, otherwise the workspace will be kept intact and you will not free up any space:
Prune the workspace
Another quick way to free some storage from your workspace is using the
reana-client prune command. This command deletes all the files from the
workspace of the specified workflow that are not declared in your reana.yaml
as either input or output files. This can free up a significant amount of
space, but please be very careful to use this command only after you really
declared all your expected outputs in reana.yaml!
For example, with the following content:
$ cat reana.yaml
...
outputs:
  files:
    - statanalysis/fitresults/limit.png
running the prune command:
$ reana-client prune -w reana-demo-root6-roofit
==> SUCCESS: The workspace has been correctly pruned.
would mercilessly delete all files except for
statanalysis/fitresults/limit.png.
Note that you can use the command-line options --include-inputs and
--include-outputs to instruct REANA to optionally remove your declared inputs
and outputs as well.
Warning
It is important to underline once more that running the prune command
will permanently delete any file from your workspace which is not declared
upfront amongst the known inputs or amongst the expected outputs files.
If you are unsure, please make sure that you have downloaded any files you
want to keep before running the prune command.
Find and delete large files
Once you have identified the heaviest workflows, you can also find which are the largest files in their workspaces.
Using the command line, you can use reana-client together with sort:
$ reana-client ls -w reana-demo-root6-roofit.2 | sort -n -r -k 2
results/data.root   154453   2022-05-30T12:50:59
results/plot.png    15450    2022-05-30T12:51:06
code/gendata.C      1937     2022-05-30T12:50:46
code/fitdata.C      1648     2022-05-30T12:50:46
NAME                SIZE     LAST-MODIFIED
If some of the files are not important anymore, they can be deleted:
$ reana-client rm results/data.root -w reana-demo-root6-roofit.2
==> SUCCESS: File results/data.root was successfully deleted.
==> SUCCESS: 154453 bytes freed up.
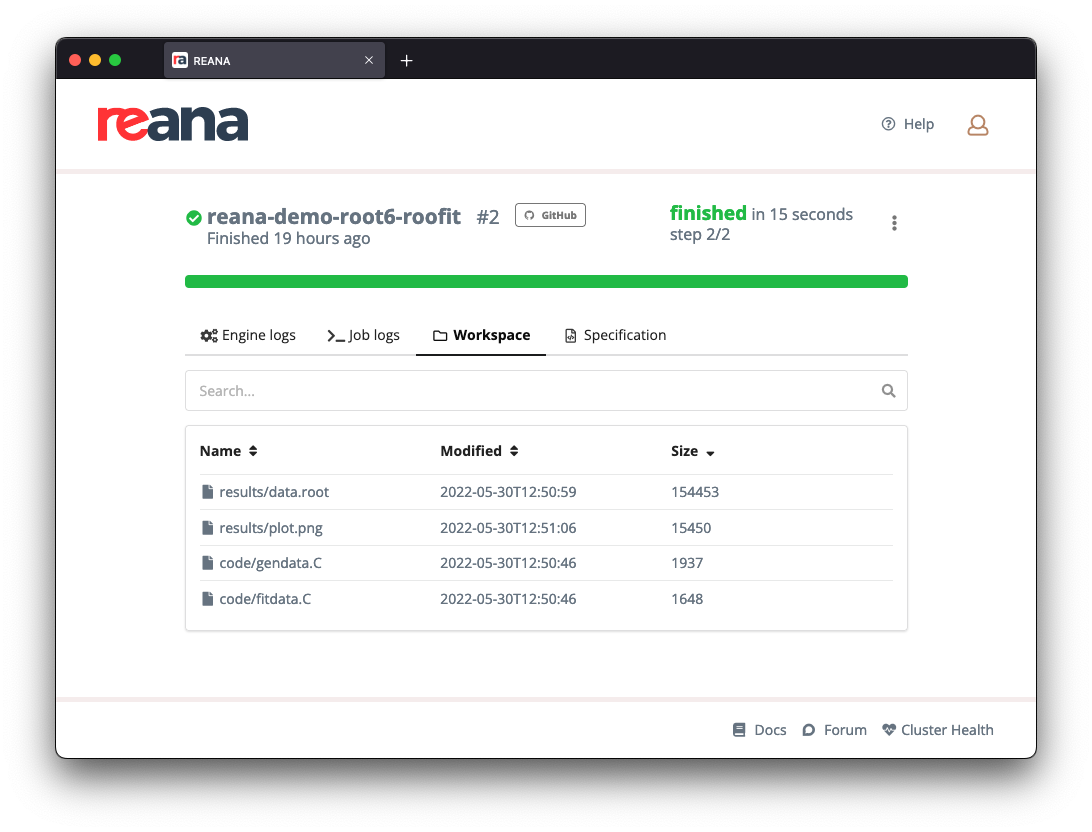
Using the web interface, open the details page of the workflow, move to the "Workspace" tab and click on "Size" to sort the files in ascending or descending order of size:
You can then proceed to deleting discovered large unnecessary files using the command-line client as above.